Free Burp Cloth Pattern
Free Burp Cloth Pattern - Here’s the original burp cloths that i made…. Put your fabric and toweling with right sides together and straight stitch all the way around with a ⅜ inch seam allowance (1cm). Sew around the burp cloth, leaving a small area to turn the. Web first, cut out two layers of flannel with your pattern. Clip curves and turn right side out. Keep any of these free burp cloth sewing patterns ready to wipe up any messes throughout the day. Pin or clip the pieces together. Web download the free pattern to your computer, open up the pdf and print the pattern at full size. This helps keep the cloth in place before, while, and after burping or nursing. Tuck in raw edges at opening and pin. Tuck in raw edges at opening and pin. Web make a diy burp cloth in as little as 15 minutes with flannel and minky or terry cloth with this free burp cloth pattern. Note that i folded my flannel fabric right sides together so i can cut two layers at once. This is the gap in mine. Complete your sandwich by placing the stretch/jersey knit fabric face down on top. Remember to backstitch at the start and stop of the seam. Total time 15 minutes mins. It's also a handy accessory for any day with children! Next, it’s all about how you layer it! Web lay the main fabric on top of the terry cloth with right sides together. Tuck in raw edges at opening and pin. This is the gap in mine. Complete your sandwich by placing the stretch/jersey knit fabric face down on top. Note that i folded my flannel fabric right sides together so i can cut two layers at once. Clip curves and turn right side out. If your fabric is directional make. Web download the free pattern to your computer, open up the pdf and print the pattern at full size. Pin or clip the pieces together. Alternatively, print one pattern and cut the fabric on the fold. Put your fabric and toweling with right sides together and straight stitch all the way around with a. Sew around the burp cloth, leaving a small area to turn the. Use the pattern to cut one pattern piece out of each of the two fabrics. Next, layer the minky with the soft side facing up, directly on top. Complete your sandwich by placing the stretch/jersey knit fabric face down on top. This helps keep the cloth in place. Put your fabric and toweling with right sides together and straight stitch all the way around with a ⅜ inch seam allowance (1cm). First, place the diaper cloth fabric on your surface. Remember to backstitch at the start and stop of the seam. Web make a diy burp cloth in as little as 15 minutes with flannel and minky or. Leave a 3 opening for turning. Web a curved burp cloth pattern allows you to make a towel that is contoured to your neck and shoulder angles. And some new ones when i went to update this post! Next, layer the minky with the soft side facing up, directly on top. Web print and cut out the free burp cloth. Web print and cut out the free burp cloth pattern. Lay the pattern on top of two pieces of cotton fabric. If your fabric is directional make. Web make a diy burp cloth in as little as 15 minutes with flannel and minky or terry cloth with this free burp cloth pattern. Total time 15 minutes mins. Use a point turner to smooth seam on the inside. Place the fabric pieces with the right sides together. Fabric marking pen (for rounded corners) sewing machine. First, place the diaper cloth fabric on your surface. Leave a 3 opening for turning. Here’s the original burp cloths that i made…. This is the gap in mine. Sew around the burp cloth, leaving a small area to turn the. Next, layer the minky with the soft side facing up, directly on top. First, place the diaper cloth fabric on your surface. Tuck in raw edges at opening and pin. Here’s the original burp cloths that i made…. This is the gap in mine. Sew around the burp cloth, leaving a small area to turn the. Web print and cut out the free burp cloth pattern. It's also a handy accessory for any day with children! Web lay the main fabric on top of the terry cloth with right sides together. Here’s the original burp cloths that i made…. Leave a 3 opening for turning. Remember to backstitch at the start and stop of the seam. This is the gap in mine. Web a curved burp cloth pattern allows you to make a towel that is contoured to your neck and shoulder angles. Web download the free pattern to your computer, open up the pdf and print the pattern at full size. Fabric marking pen (for rounded corners) sewing machine. Complete your sandwich by placing the stretch/jersey knit fabric face down on top. Leave a 3 opening for turning. Next, layer the minky with the soft side facing up, directly on top. It's also a handy accessory for any day with children! Use the pattern to cut one pattern piece out of each of the two fabrics. Note that i folded my flannel fabric right sides together so i can cut two layers at once. And some new ones when i went to update this post! Put your fabric and toweling with right sides together and straight stitch all the way around with a ⅜ inch seam allowance (1cm). Web first, cut out two layers of flannel with your pattern. Alternatively, print one pattern and cut the fabric on the fold. Pin or clip the pieces together. Remember to backstitch at the start and stop of the seam.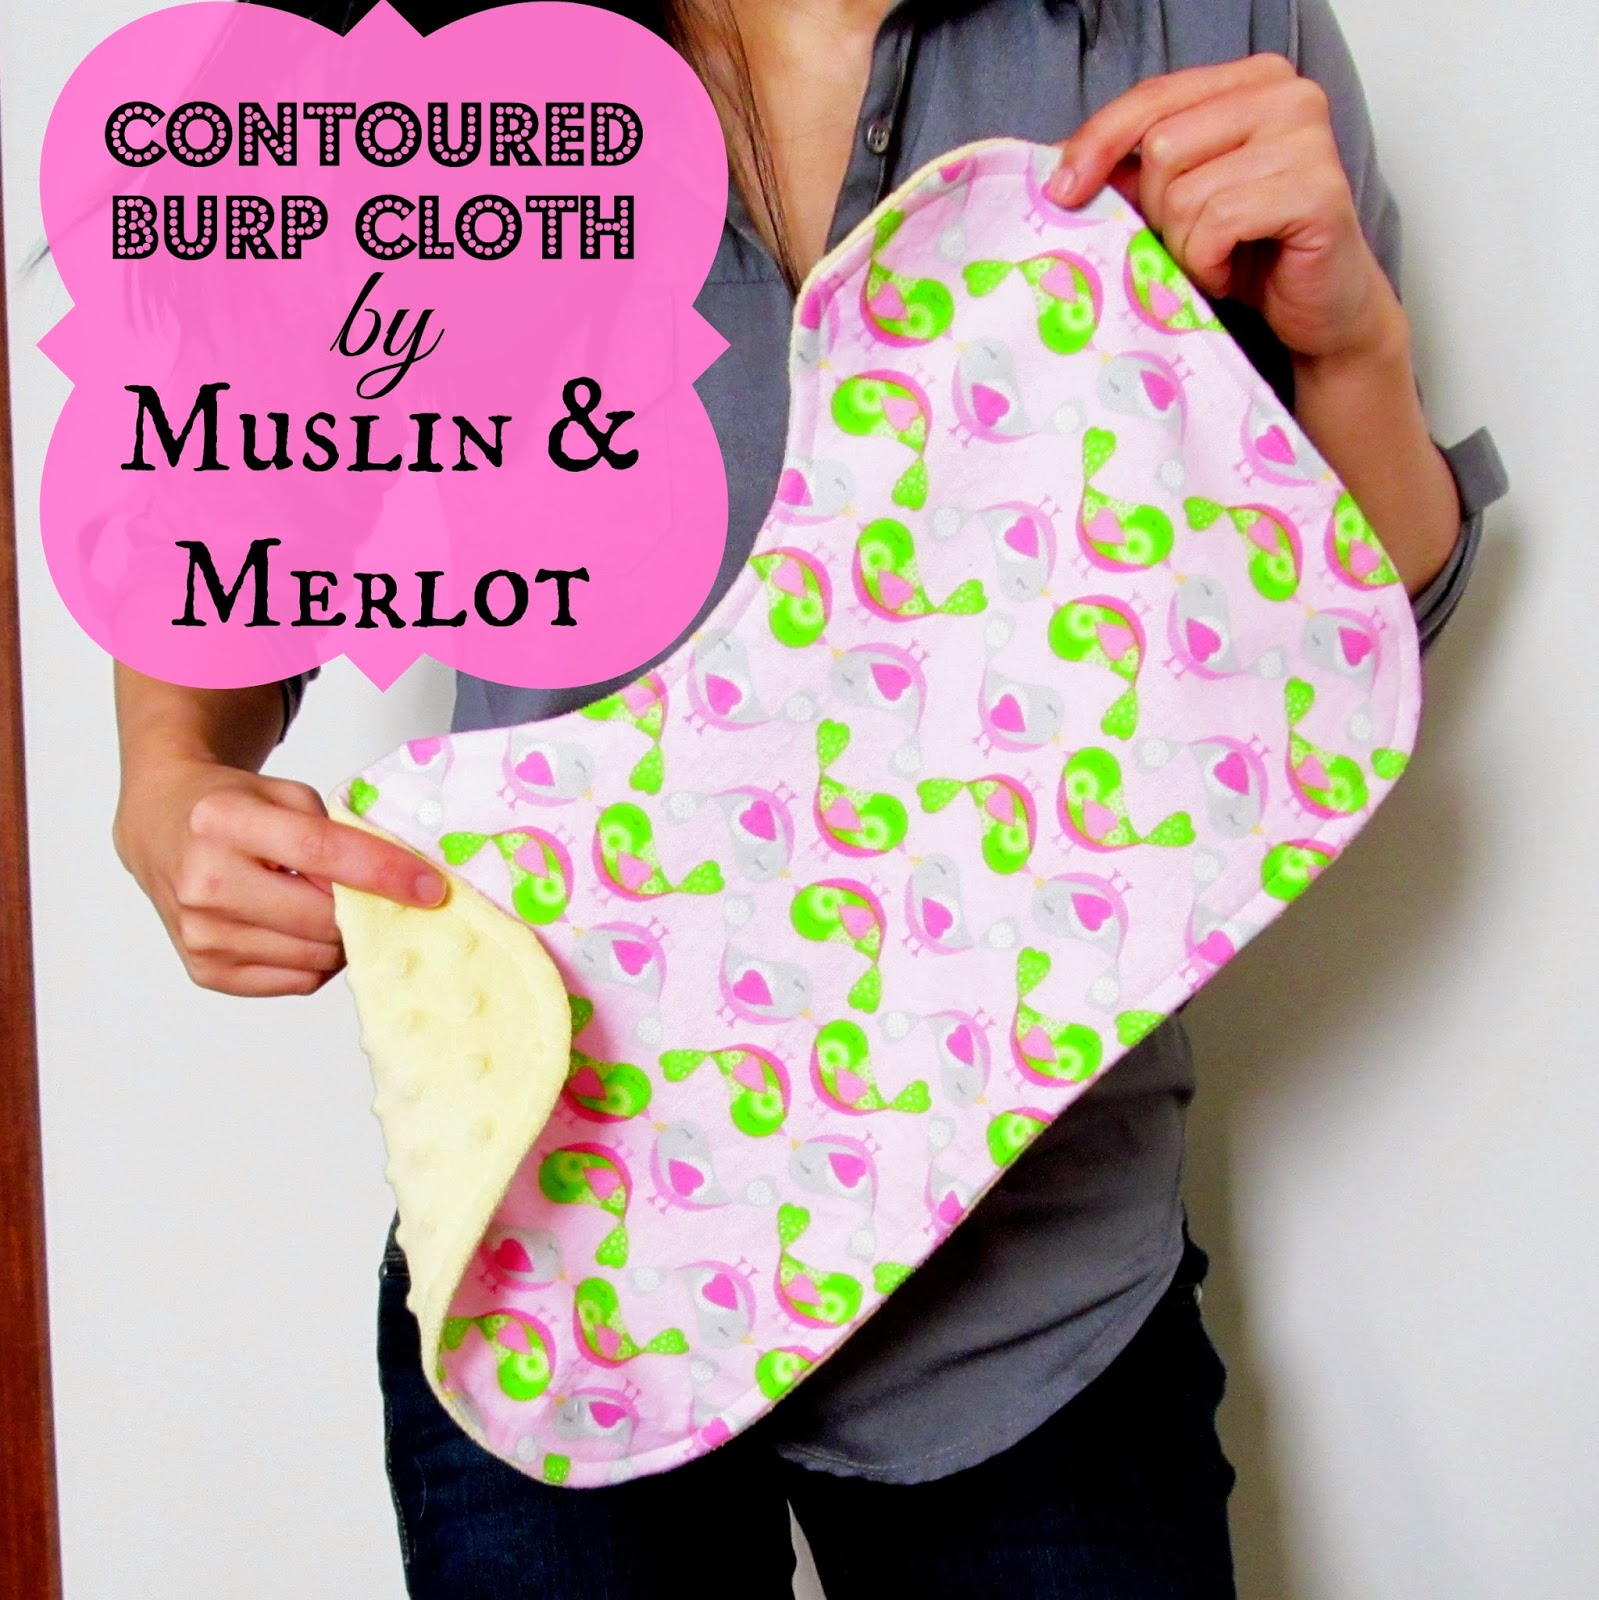
Burp Cloth Pattern Printable

Baby Burp Cloth Pattern (3 Versions) Mary Martha Mama

Free Printable Burp Cloth Patterns

Baby Burp Cloth Pattern FREE in 3 Styles Coral + Co.

Baby Burp Cloth Pattern (3 Versions) Mary Martha Mama

Burp Cloth Pattern Free Printable Pattern for 3 Styles Burp cloth

Burp Cloth Pattern Free Printable Pattern for 3 Styles Burp cloth

DIY curved burp cloth free pattern for baby Baby sewing, Baby burp
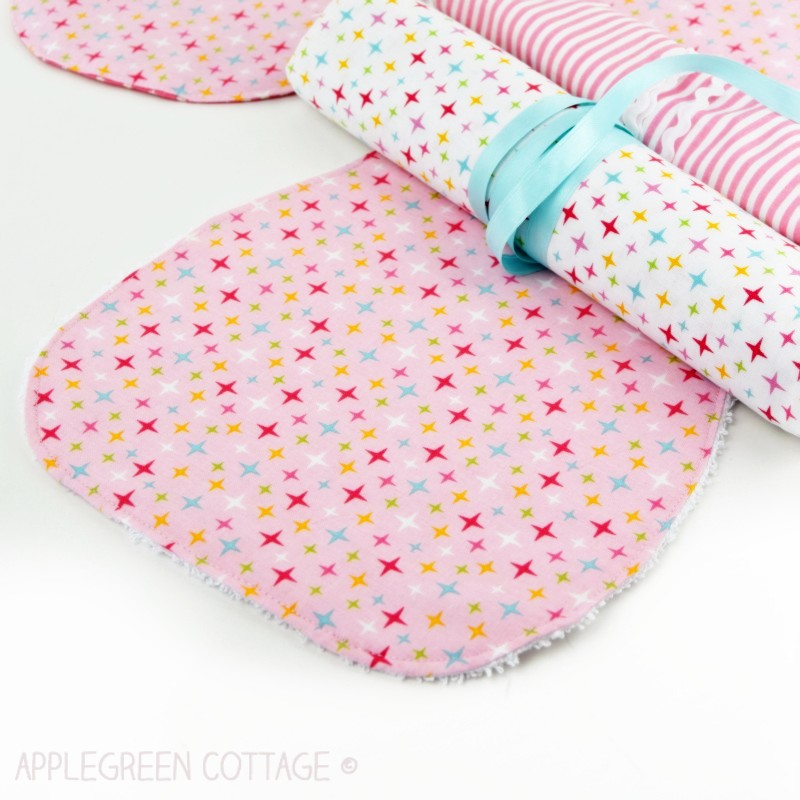
Free Burp Cloth Pattern So cute! AppleGreen Cottage

The Perfect Baby Burp Cloth Craftsy Burp cloth patterns, Baby burp
This Helps Keep The Cloth In Place Before, While, And After Burping Or Nursing.
Pin Cuddle® Or Embrace® Piece To Terry Cloth, Right Sides Together.
Web Make A Diy Burp Cloth In As Little As 15 Minutes With Flannel And Minky Or Terry Cloth With This Free Burp Cloth Pattern.
Tuck In Raw Edges At Opening And Pin.
Related Post: